Buying guide · Hobbies & Collectibles
Tools you need to build plastic model kits
Short answer
To build plastic model kits, start with a stable way to hold small parts, a tool for adding or restoring panel lines, and a simple organizer so the work area stays controlled. The exact vise or clamp matters more than the name on it: choose one that fits the part size and shape you work on, then add a scriber only if your kits need seam cleanup or surface detailing.
What tools matter most for plastic kits
The core need is control. Small plastic parts are easy to twist, scar, or launch across the bench, so a compact vise or helping-hands style clamp is often more useful than adding more cutting tools you may already own.
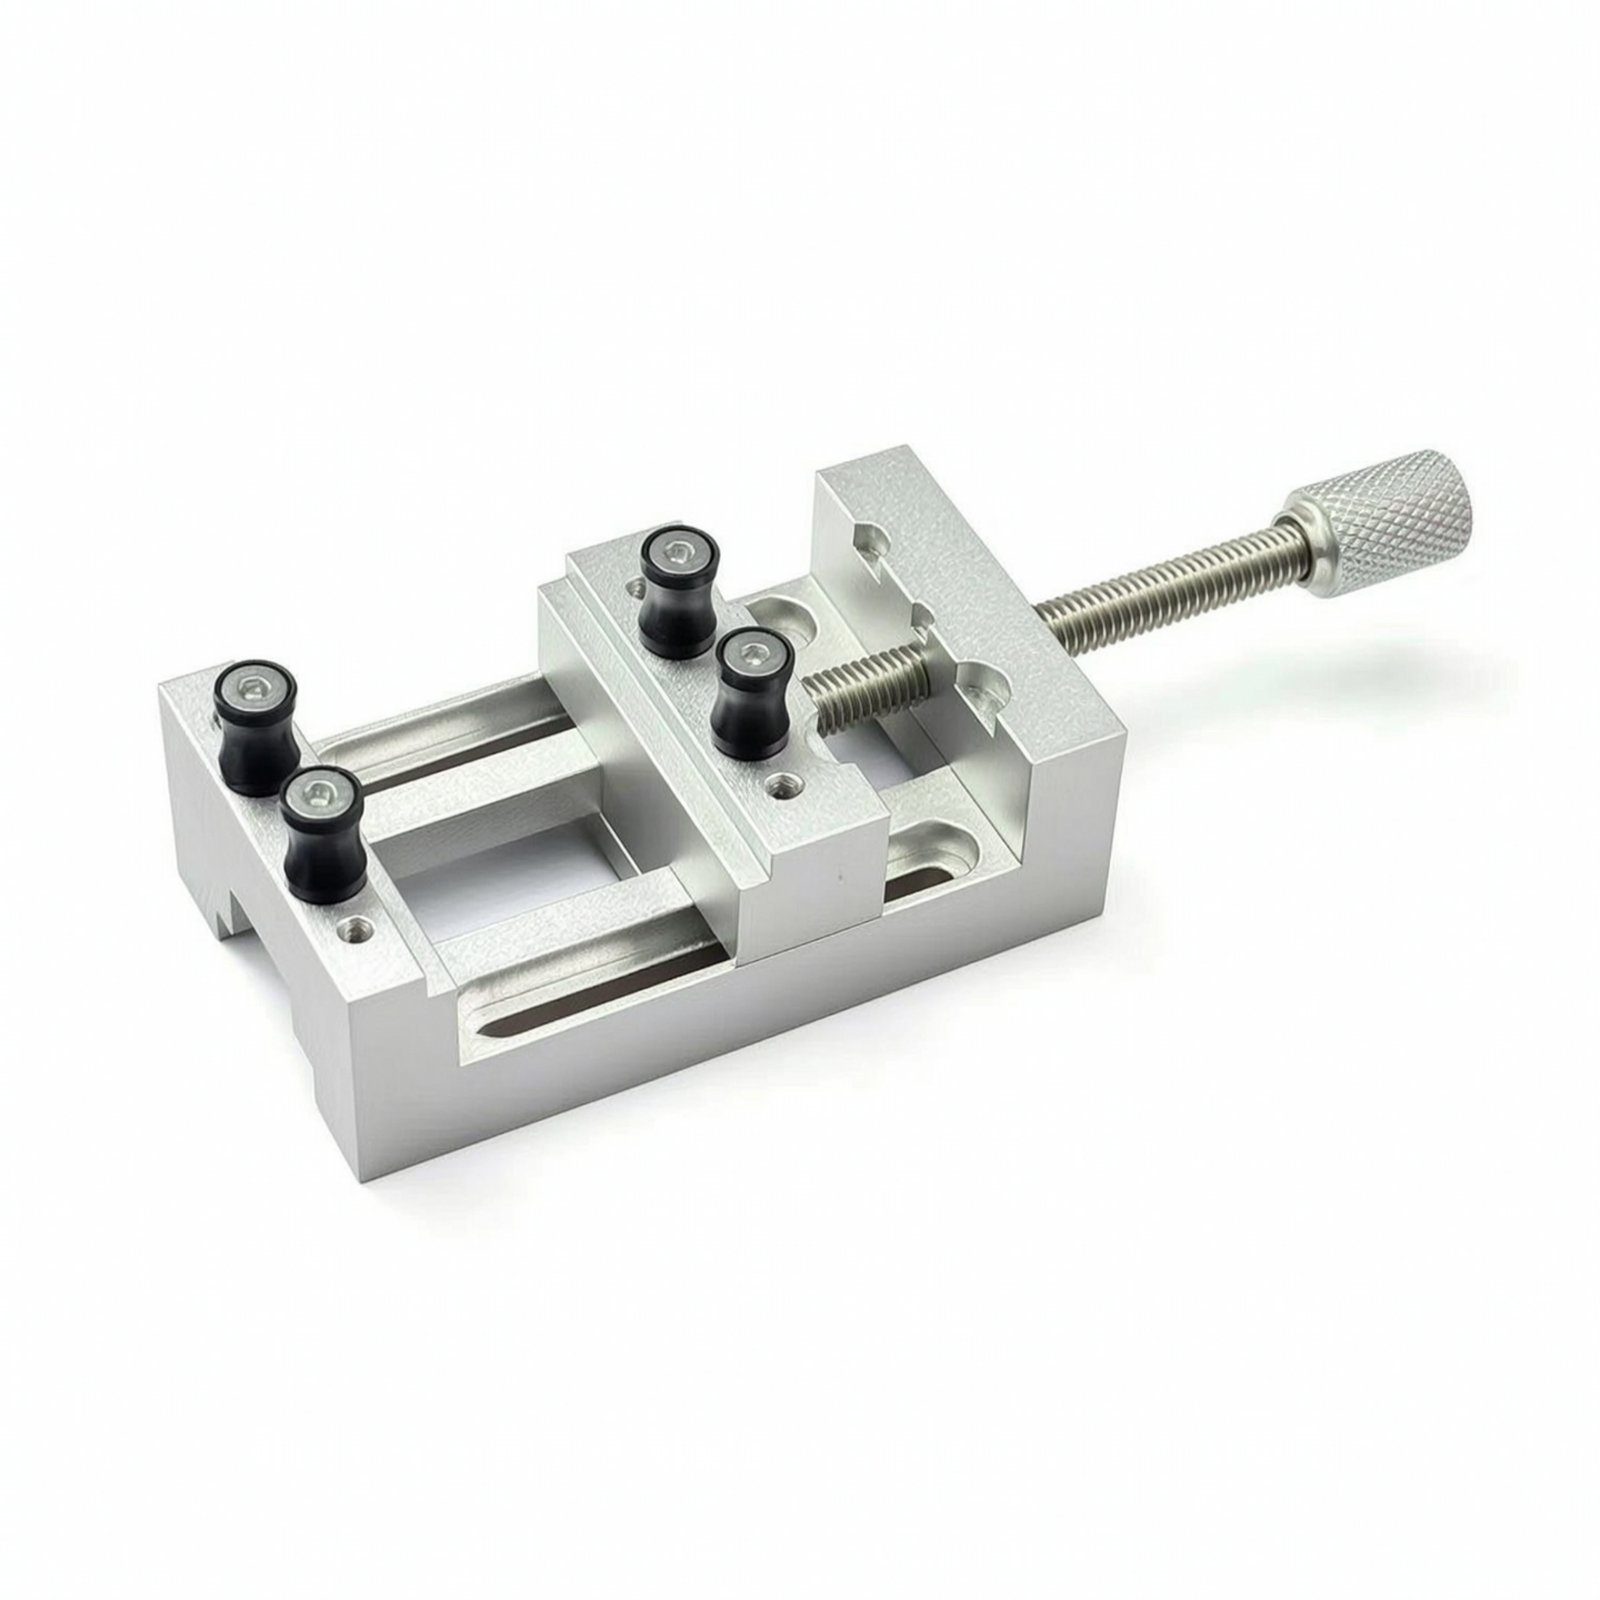
A basic workholding tool such as Mini Metal Bench Vise is a practical starting point because it is meant to secure compact parts during assembly, trimming, or test fitting. If you often work with small subassemblies, a rotating vise such as Precision Hobby Vise can make painting, filing, and cleanup easier because you can change the working angle without constantly re-gripping the part.
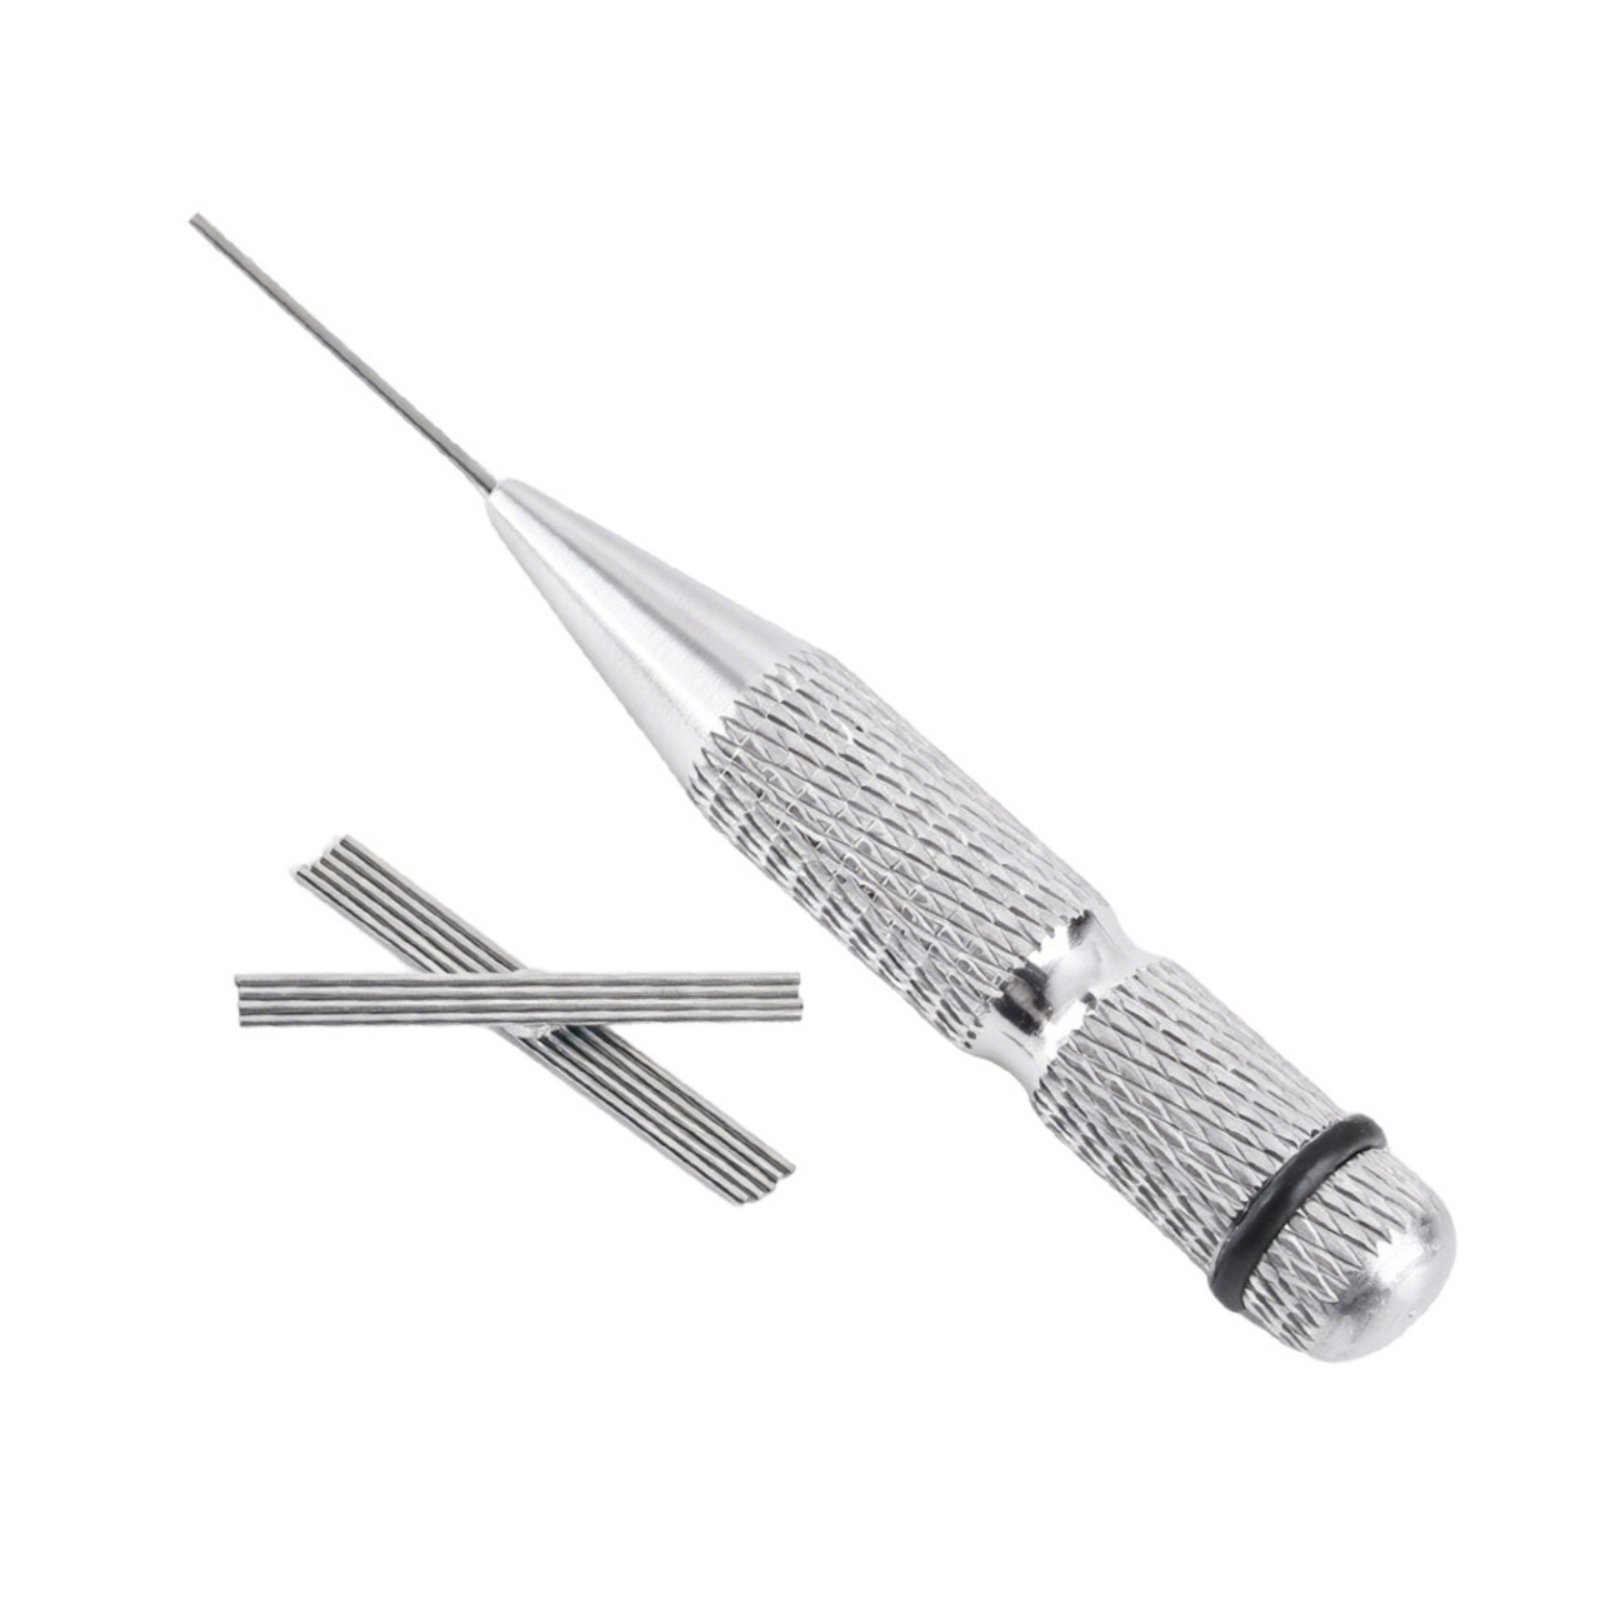
For surface detail, a scriber is not mandatory for every first kit, but it becomes very useful once you need to restore panel lines after sanding seams. Precision Panel Line Scriber is meant for defining, deepening, and cleaning panel lines, while Parallel Scribing Tool Adjustable is more specialized for drawing consistent parallel marks and repeatable panel lines along an edge.
Organization also matters more than it seems. Model Tool Stand helps keep tweezers, pliers, knife handles, and other small tools separated, which reduces bench clutter and makes it less likely that a sharp tool ends up under loose parts.
How to choose the right vise, clamp, and scriber
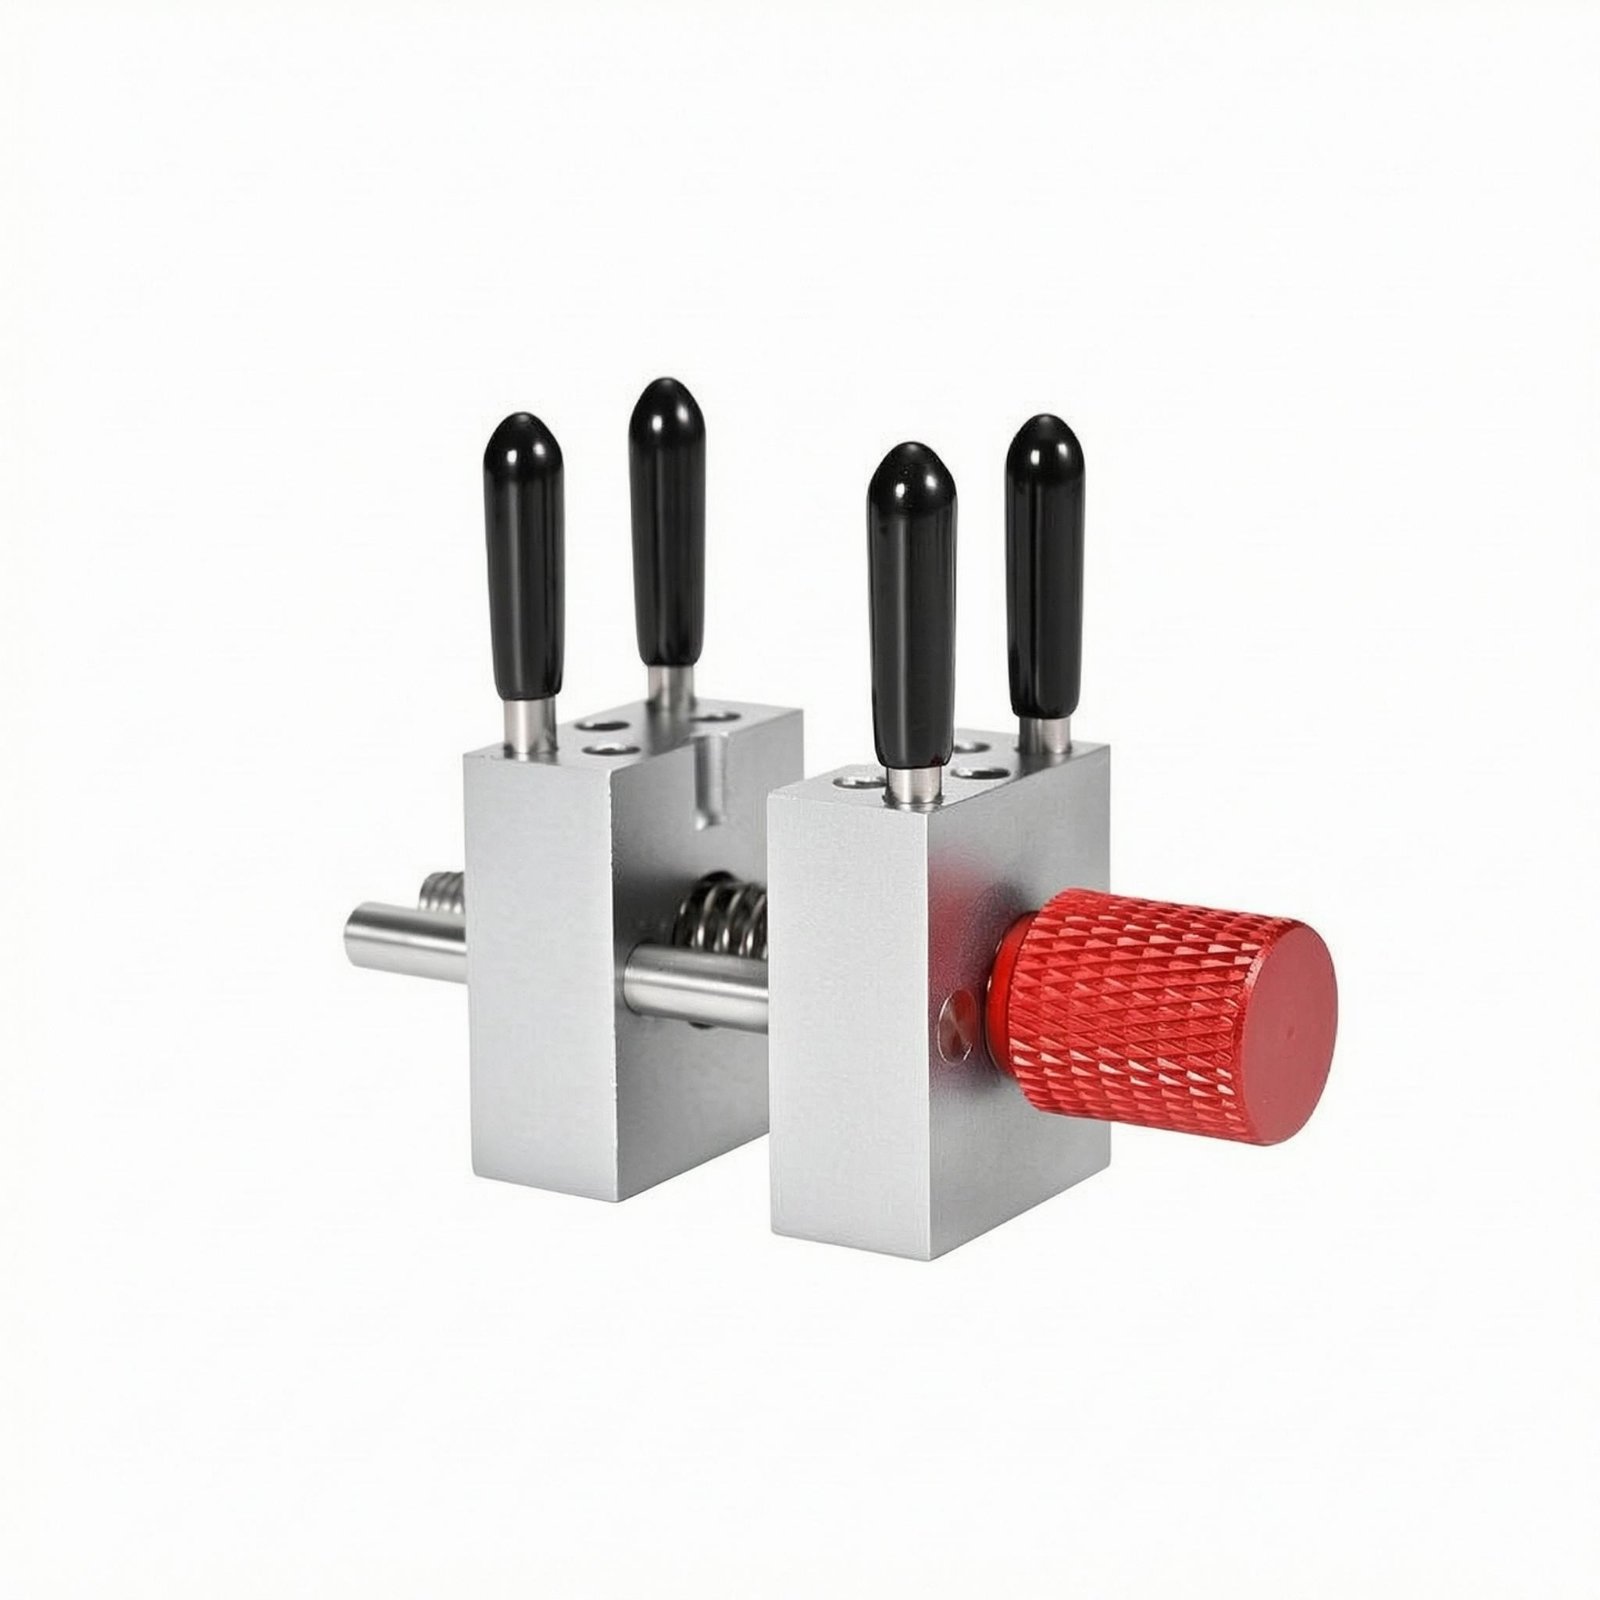
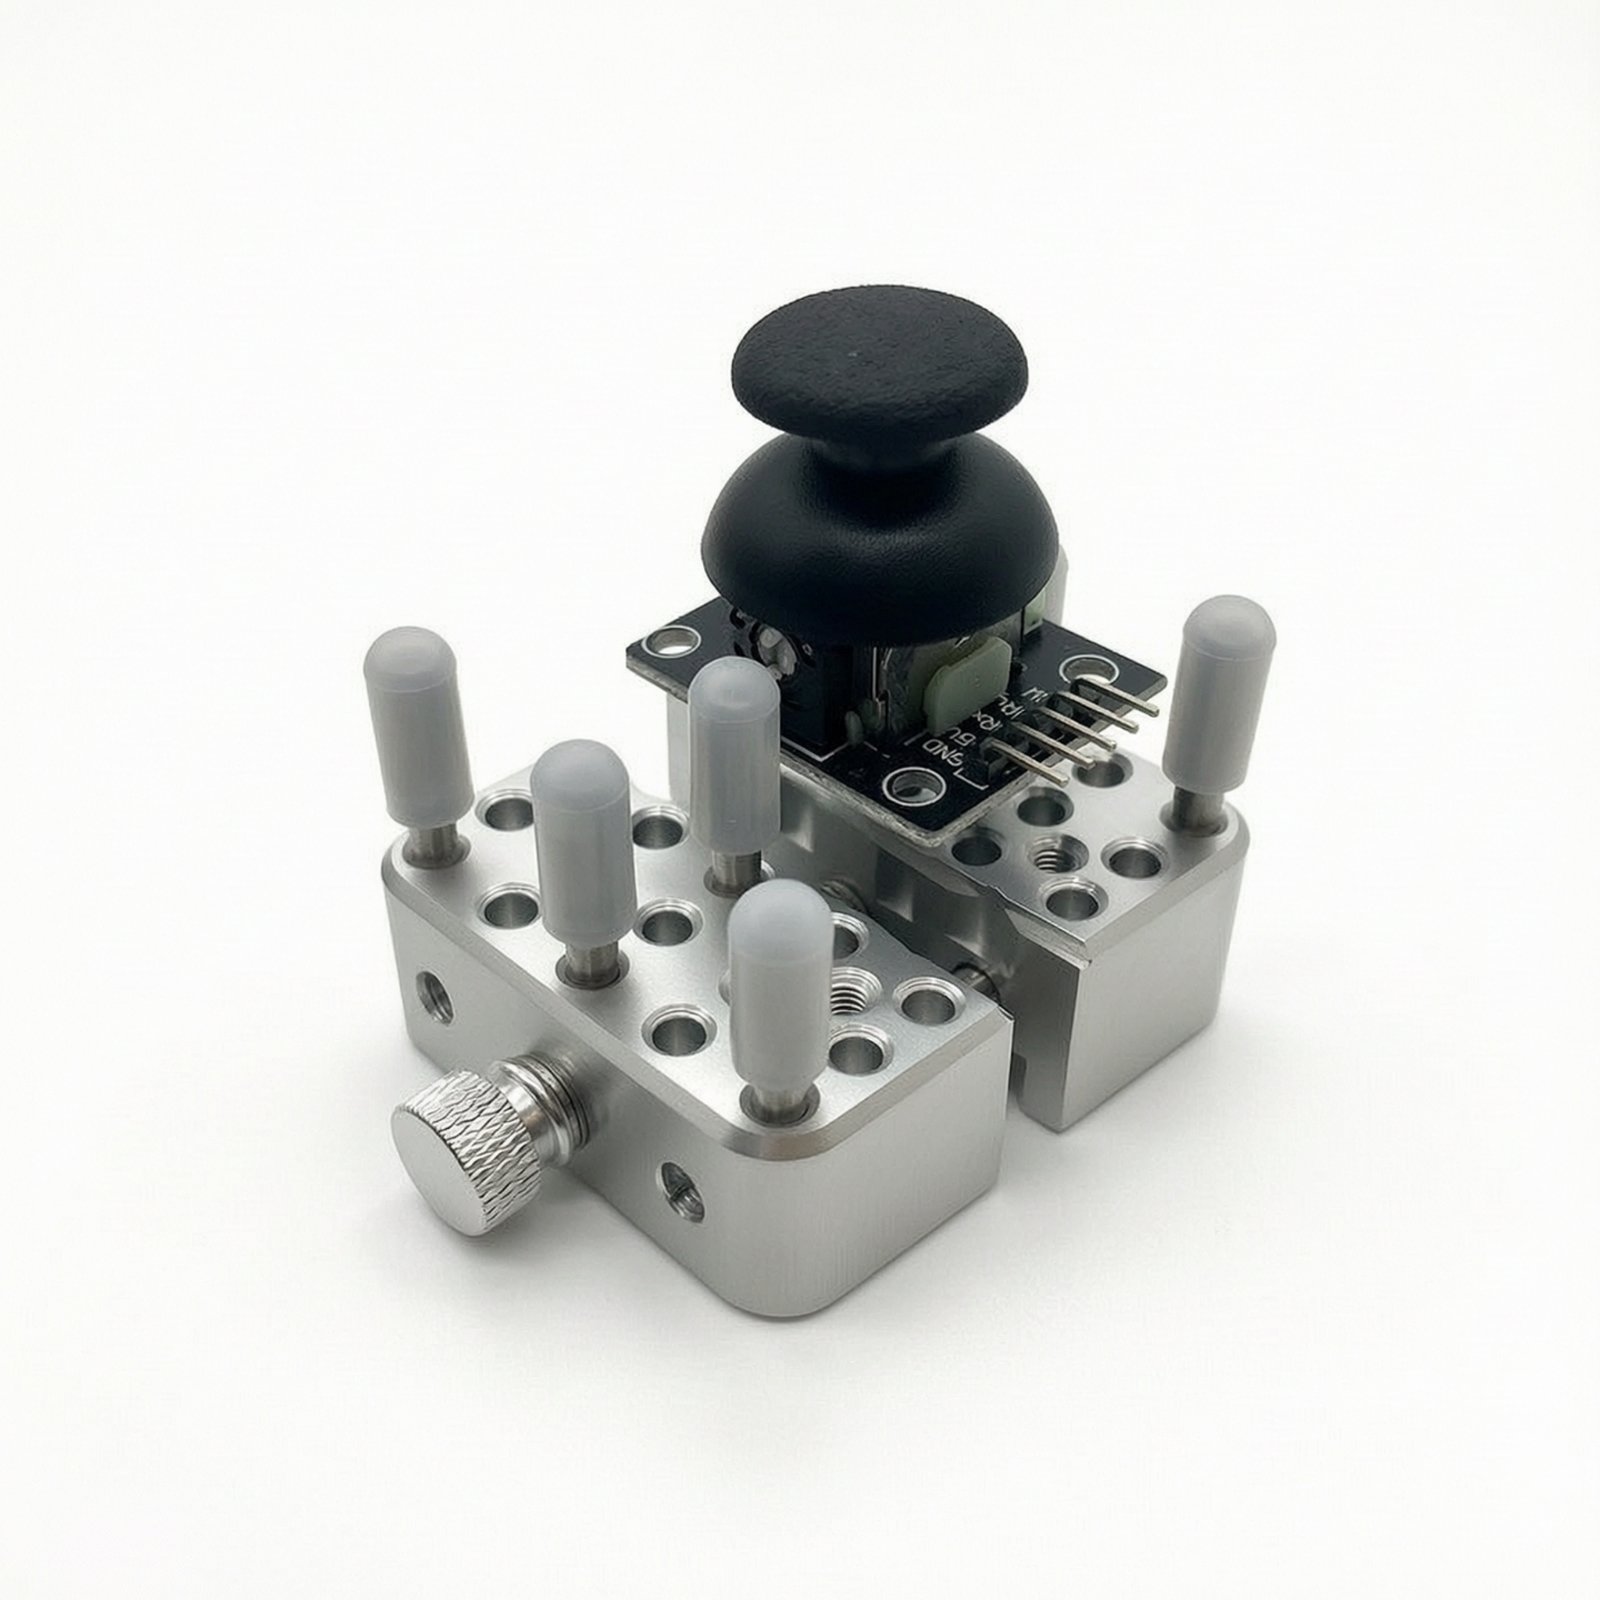
Pick the holding tool based on part shape first, then on adjustability. If you mostly need to steady small, regular pieces for light trimming or gluing, Mini Metal Bench Vise keeps things simple, and its maximum clamping diameter is 3 cm, so it suits compact parts rather than larger assemblies. If you need more flexibility for irregular shapes, Precision Clamp with Silicone Posts gives you multiple threaded holes and posts, and its 58 mm overall width with a 24 mm opening span makes it a compact third hand for crowded workspaces.
If you want one vise for many different angles, Precision Hobby Vise supports full 360° rotation and adjustable working angles, with a maximum jaw opening of 65 mm and a maximum clamp opening of 35 mm. That extra range is useful when a model subassembly is awkward to grip straight on. For a simple compact vise that can also work with small drill setups, Mini Bench Vise Compact measures 76 x 42 x 25 mm and is built around smooth incremental adjustment.
Choose a scriber by the task, not by appearance. Precision Panel Line Scriber is the better example when you need to deepen existing lines or clean them after sanding, because it is presented as a precision detailing tool with a replaceable tip system. Parallel Scribing Tool Adjustable makes more sense when you want repeatable spacing, since it includes an engraved measurement scale and an adjustable setup for parallel marks.
For bench organization, think about whether you want a rack for active tools or a small cup-style organizer for slender tools. Model Tool Stand is the better fit if you use several hand tools during a build session and want open access. Desktop Tool Storage Box is more compact, with five vertical compartments and each compartment roughly 13 mm wide, so it is better for brushes, tweezers, and slim precision tools than for bulkier handles.
How the pieces work together during a build
A good setup follows the build sequence. First, use a vise or clamp to hold the part steady while you clean attachment points, test-fit, or let glue set. A straightforward bench vise such as Mini Metal Bench Vise works for many routine jobs, while Precision Clamp with Silicone Posts is helpful when the part is delicate or irregular and benefits from supported contact points rather than a hard squeeze.
Next comes seam work and surface correction. After sanding a joint, some molded detail may soften or disappear. That is where Precision Panel Line Scriber comes in: it is used to restore or sharpen panel lines so the repaired area matches the surrounding surface. If you are laying out new lines or need a matching offset from an edge, Parallel Scribing Tool Adjustable supports more repeatable marking.
Throughout the project, the organizer supports the process by keeping the bench predictable. Model Tool Stand suits a broader bench setup where several tools stay in rotation, while Desktop Tool Storage Box helps if your desk space is tight and you only need upright storage for a few slim tools.
This is why many hobbyists do better with a small, focused kit than with a pile of gadgets. One holding tool, one detailing tool, and one organizer cover a lot of real work without making the bench harder to manage.
Common mistakes to avoid
The most common mistake is choosing a vise only by how compact it looks. A tiny vise can be excellent for pins, rods, and very small parts, but if your subassemblies are awkward or uneven, it may not support them well. Check whether the tool is meant for regular shapes, irregular shapes, or angle adjustment before buying.
Another mistake is using a scriber before the plastic surface is fully prepared. If a seam still has rough sanding marks or glue residue, the line can wander. Use the scriber after the joint is clean and stable, and make light passes instead of trying to cut the full line at once.
Buyers also overlook storage. Loose tools rolling around the bench can damage parts or disappear under runners and instructions. A rack such as Model Tool Stand or a compact organizer such as Desktop Tool Storage Box helps prevent that problem and keeps the workflow calmer.
Finally, do not assume more adjustability is always better. A rotating vise like Precision Hobby Vise is useful when you frequently change viewing angle, but a simpler tool can be faster for repetitive assembly. Match the tool to the job instead of collecting overlapping holders that do the same thing.
A typical kit
- Mini Metal Bench ViseUse this as the basic bench vise for holding small plastic parts steady during trimming, fitting, and assembly.
- Precision Clamp with Silicone PostsUse this as a gentler helping-hands style clamp for delicate or irregular pieces that need supported positioning.
- Precision Panel Line ScriberUse this scriber to restore, deepen, or clean panel lines after seam sanding and surface correction.
- Parallel Scribing Tool AdjustableUse this adjustable scriber when you need consistent parallel lines or repeatable marks along an edge.
- Model Tool StandUse this tool stand to keep active hand tools separated and easy to grab during a build session.
- Desktop Tool Storage BoxUse this compact storage box to hold slim tools upright when bench space is limited.
Questions people ask
Do I need a vise to build plastic kits, or can I just hold the parts by hand?
You can build simple kits by hand, but a small vise or clamp makes delicate work much easier. It helps with test fitting, seam cleanup, and holding a part still while glue sets, especially when both hands are needed.
What is the difference between a basic vise and a helping-hands style clamp?
A basic vise is usually better for straightforward clamping on regular shapes and repetitive assembly tasks. A helping-hands style clamp is often better for irregular or delicate parts because the support points can be arranged more carefully.
Do beginners need a scriber right away?
Not always. If you are only snapping together simple parts and doing minimal seam work, you may not use one much at first. It becomes more important once you start sanding joints and want to restore lost panel detail cleanly.
Should I choose a rotating vise or a simpler fixed one?
Choose a rotating vise if you often switch between assembly, sanding, and painting on the same part and want to change the angle quickly. Choose a simpler fixed vise if you mainly need steady holding for straightforward cleanup and fitting.
Is a tool organizer really necessary for model building?
It is not essential in the same way a holder or scriber can be, but it helps more than many buyers expect. Keeping tools separated reduces clutter, protects parts from accidental scratches, and makes the whole build process smoother.
Shop the list
Everything mentioned above
Prices and delivery windows are live from our catalog.
Mini Metal Bench Vise
Precision Clamp with Silicone Posts
Precision Panel Line Scriber
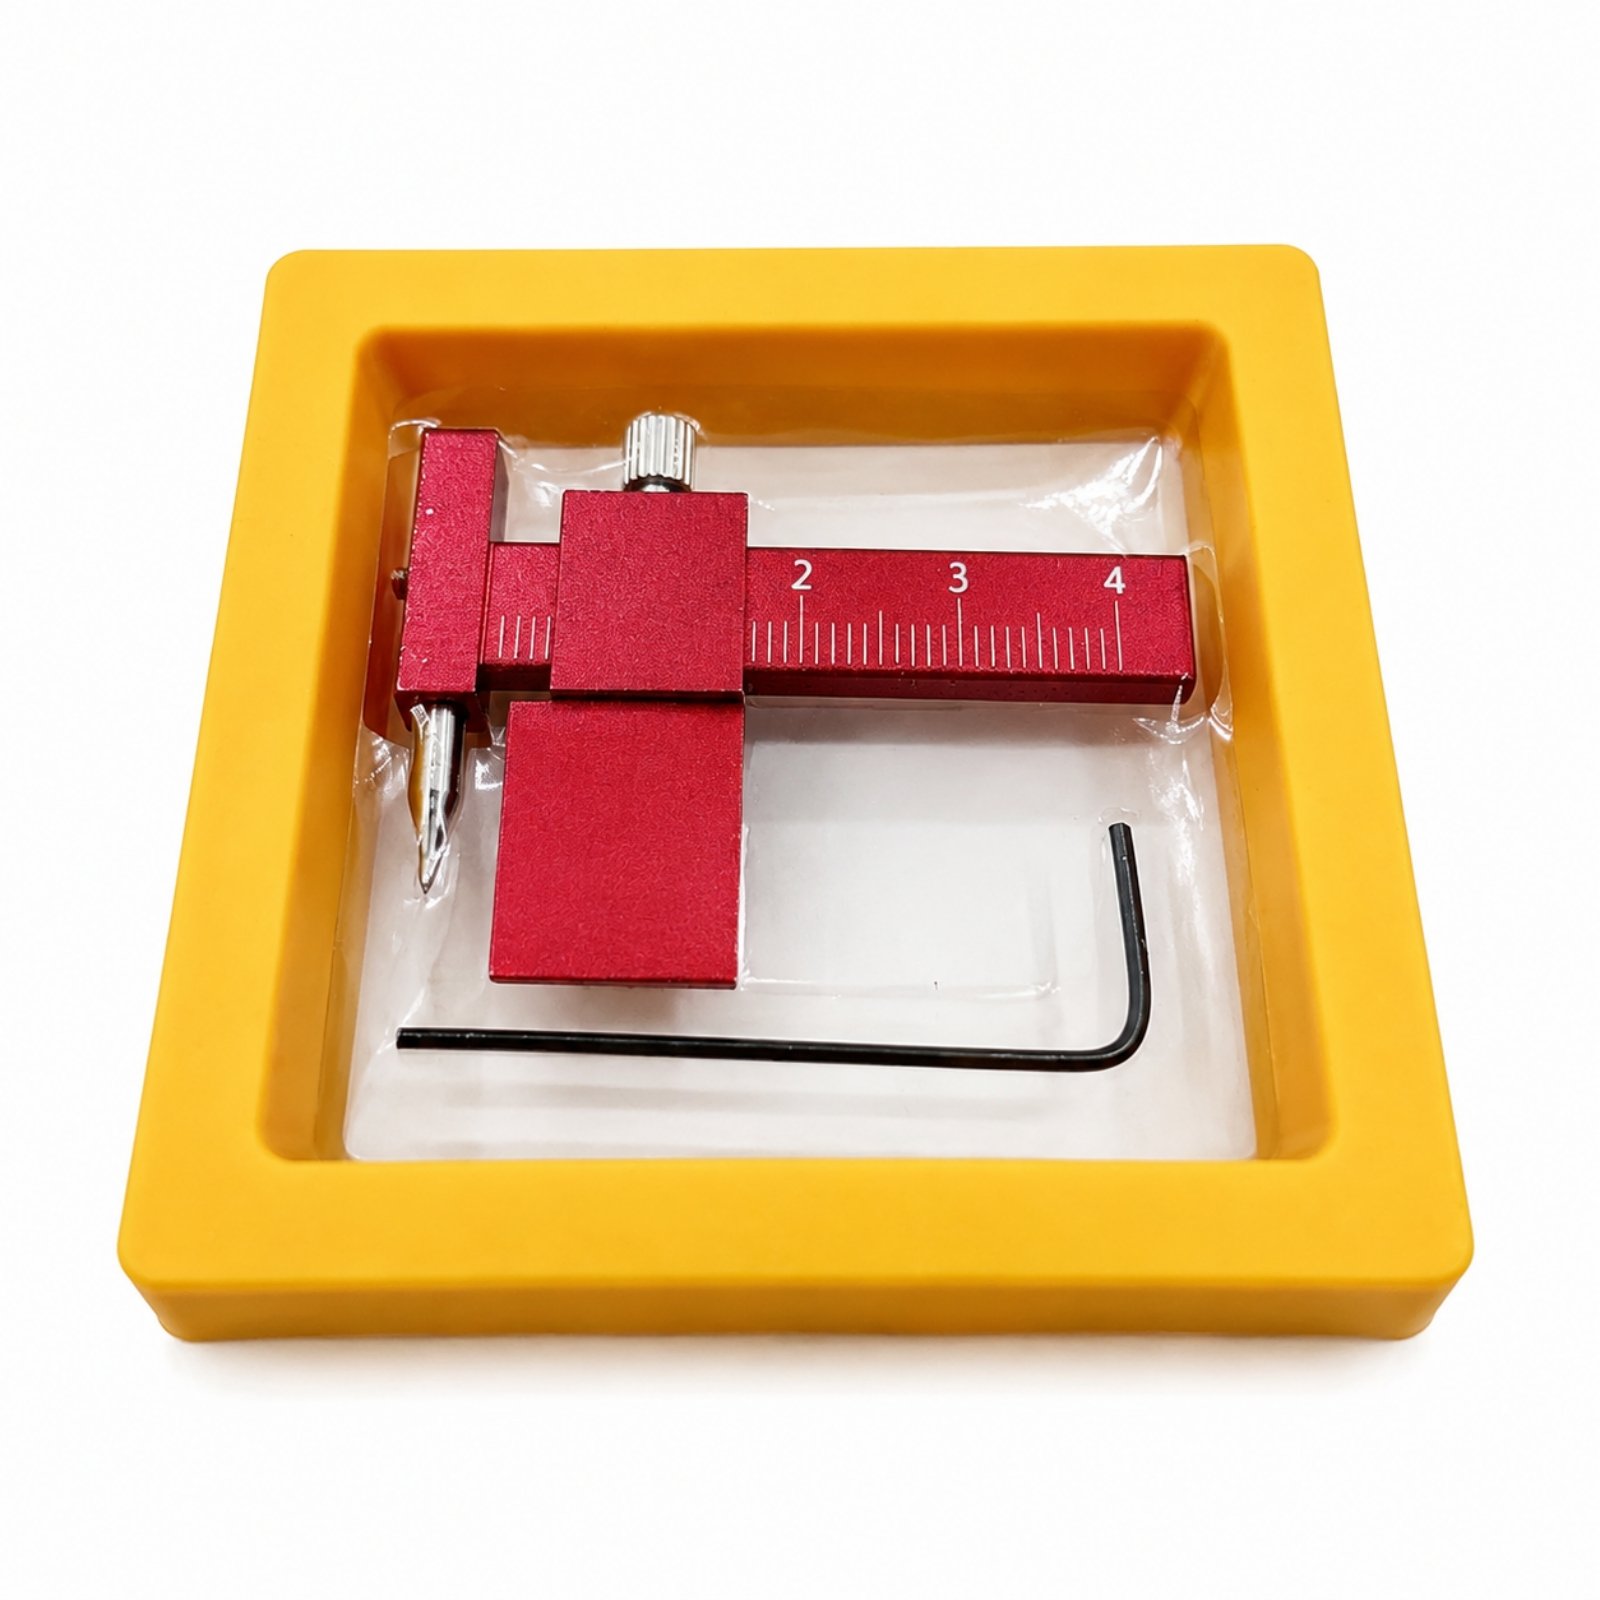
Parallel Scribing Tool Adjustable
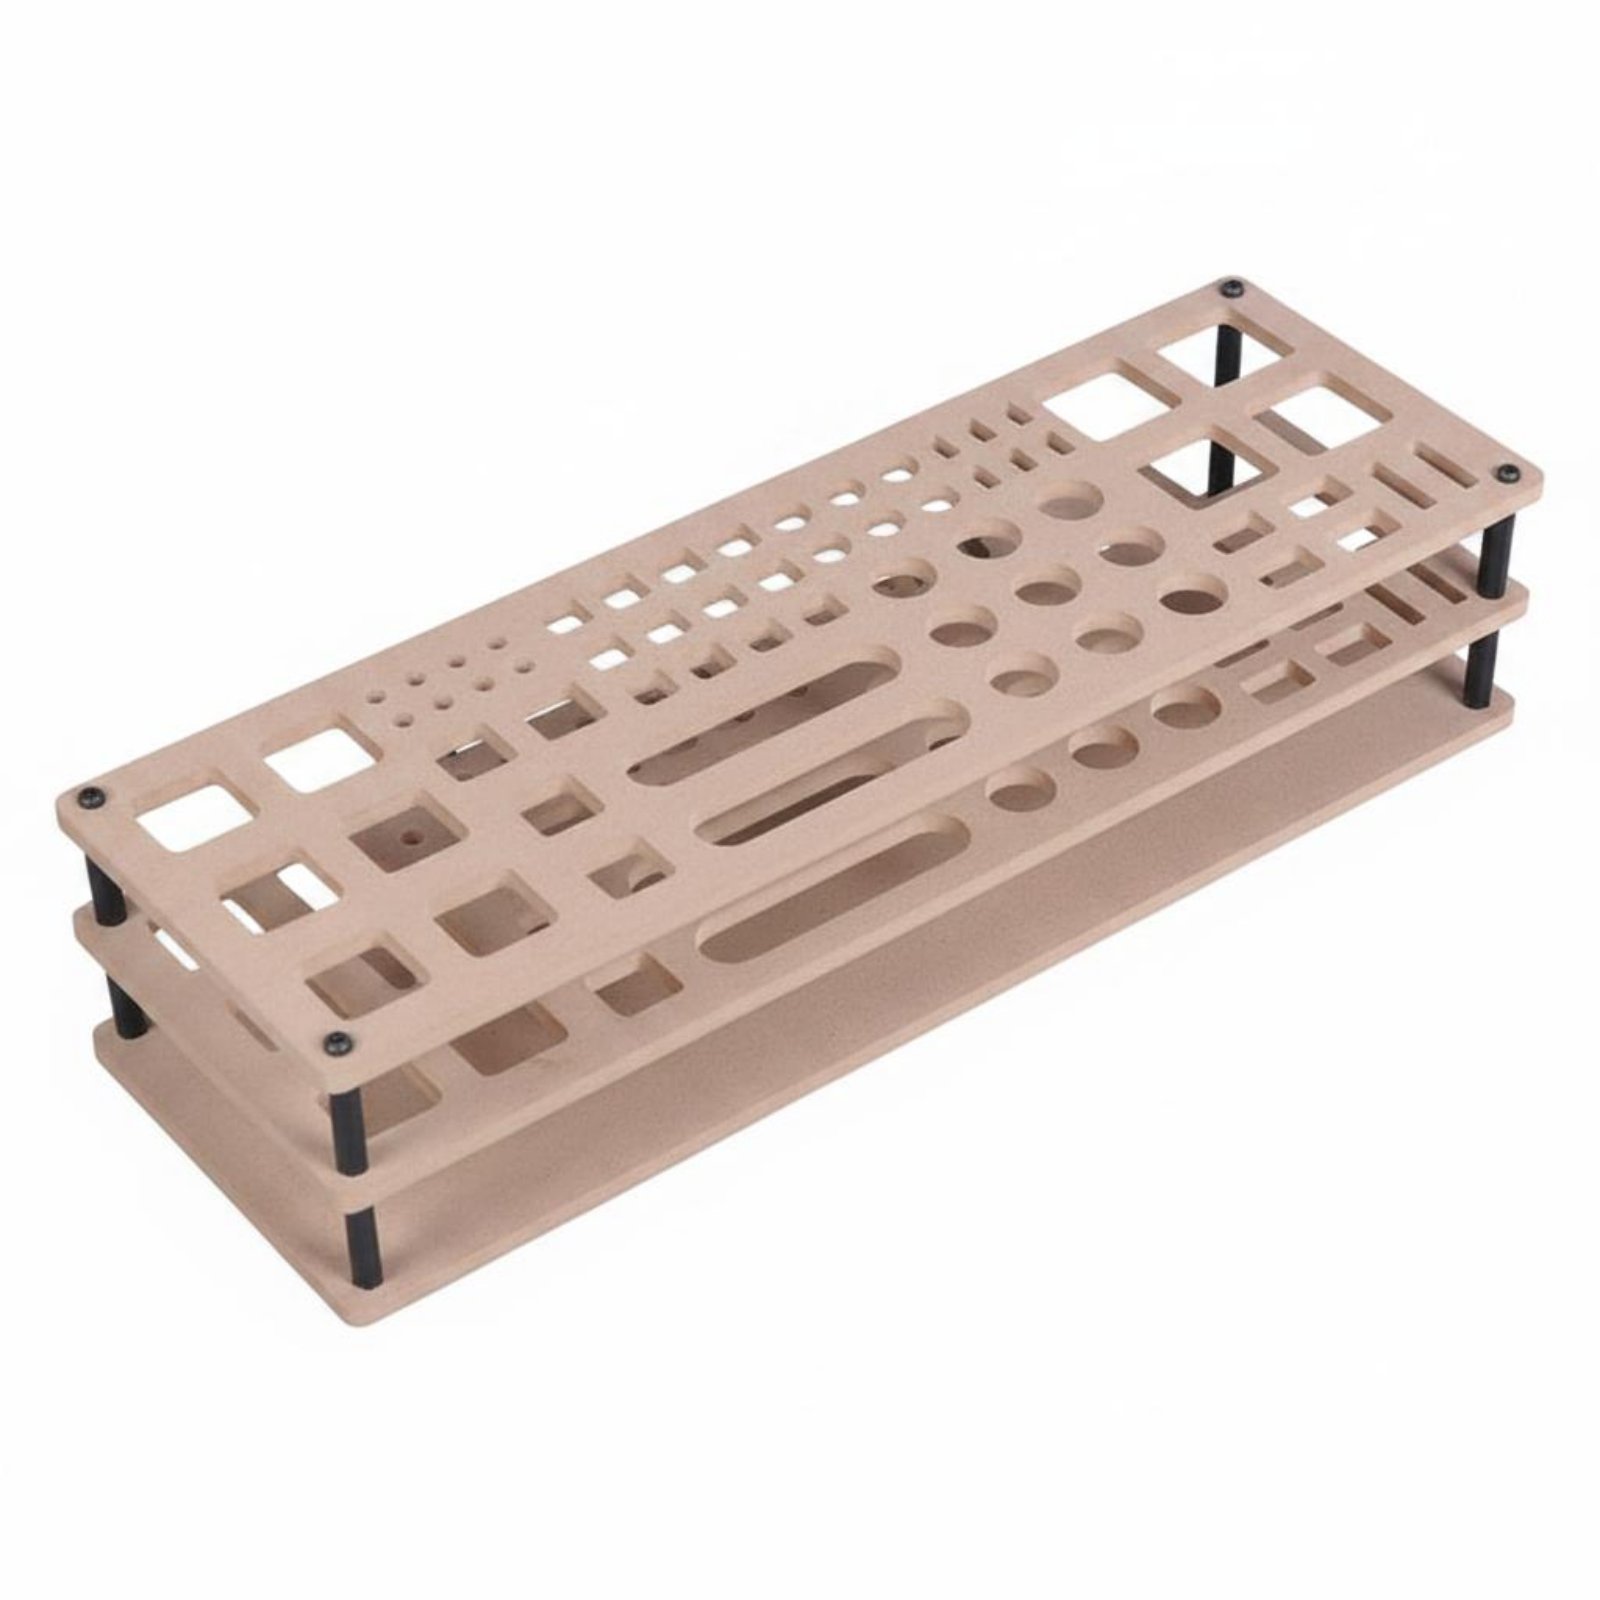
Model Tool Stand
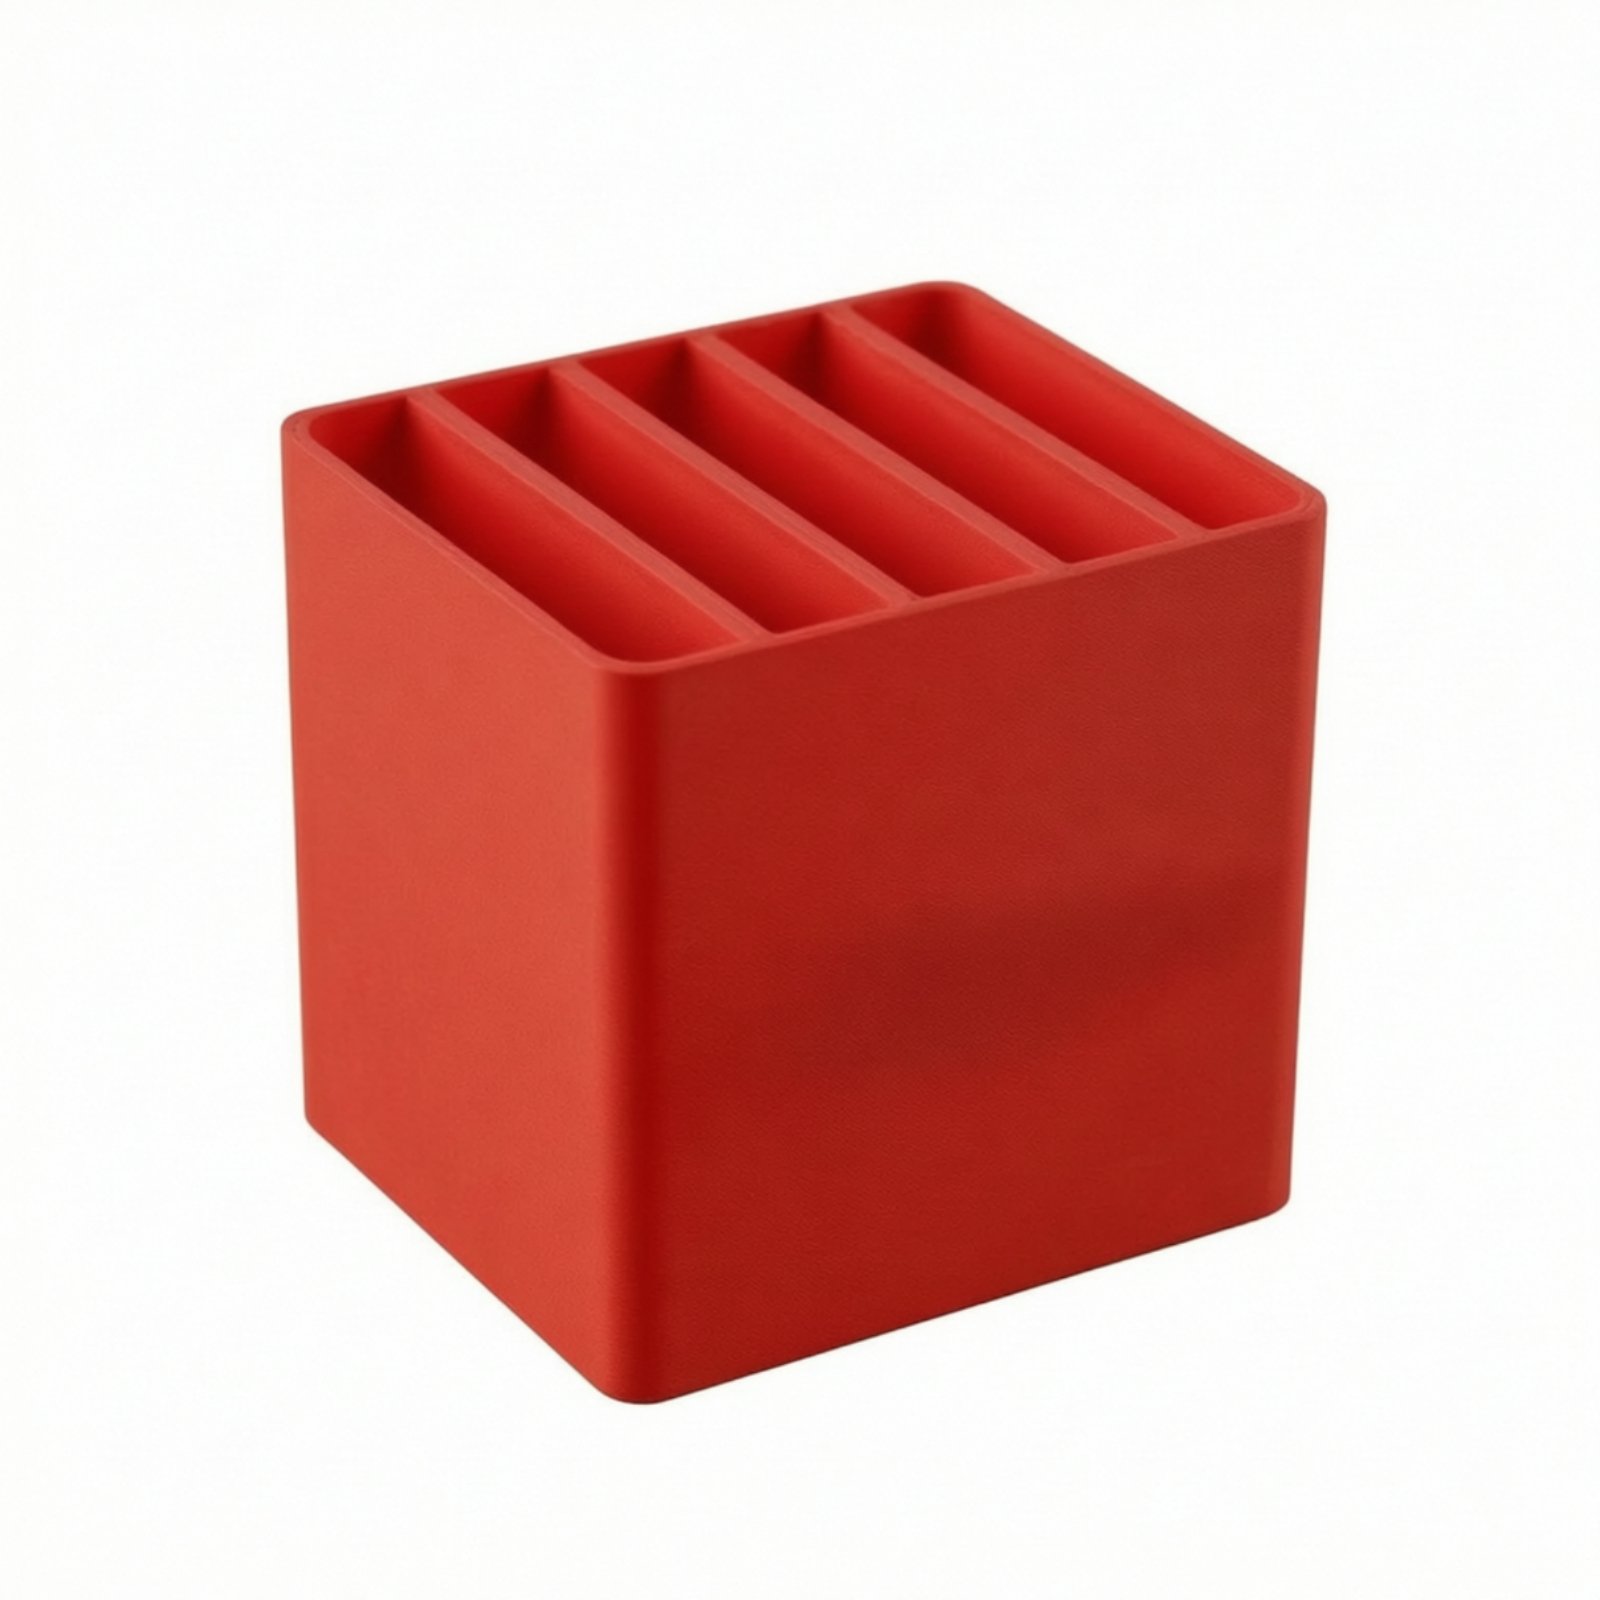
Desktop Tool Storage Box
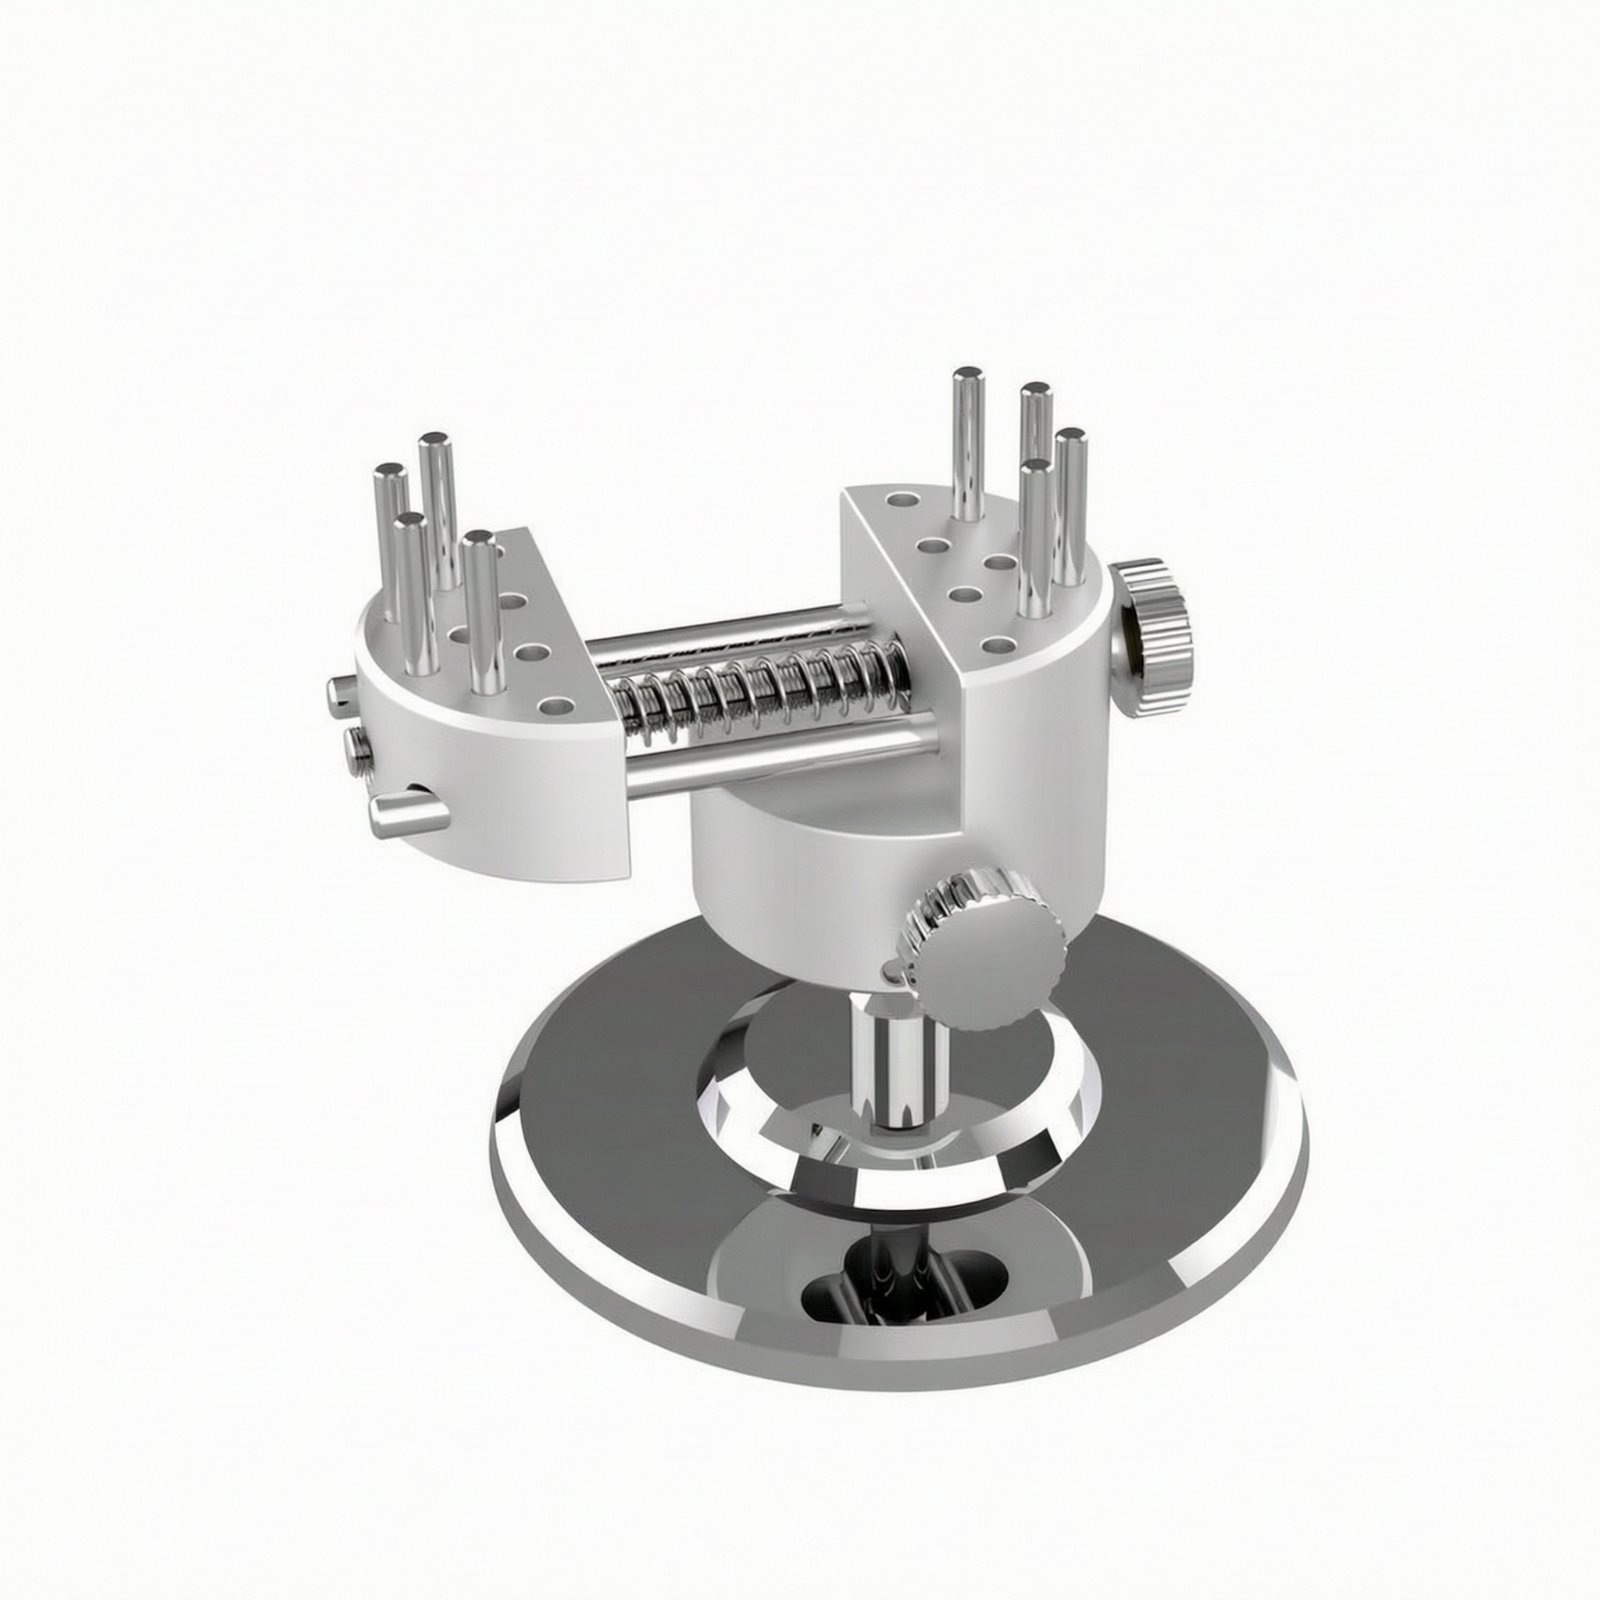
Precision Hobby Vise